Send specific data of your forms to Google Sheets with 123FormBuilder
When you integrate with Google Sheets all the data is imported in the form’s spreadsheet. Sometimes you need only certain information about your users. In this article, you will learn how to send specific data to Google Sheets.
For this to work you will need to create a Zapier account and enable the Webhooks integration.
How does it work?
To summarize the whole process, you will create a zap between WebHooks and Google Sheets and use the Webhook link on your form.
Webhooks are automated ways for different apps to send messages to each other.
Webhooks are triggered by specific events and in our case, it will be a form submission. When you create the zap, a Webhook link is provided by Zapier. That link will be placed on your 123FormBuilder form.
Let’s jump right into it to have a better understanding.
Setting up the connection
Open up your Zapier account and click on Make a zap.
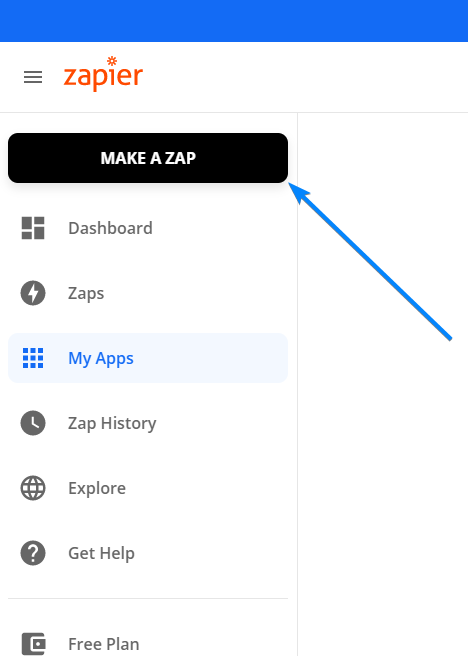
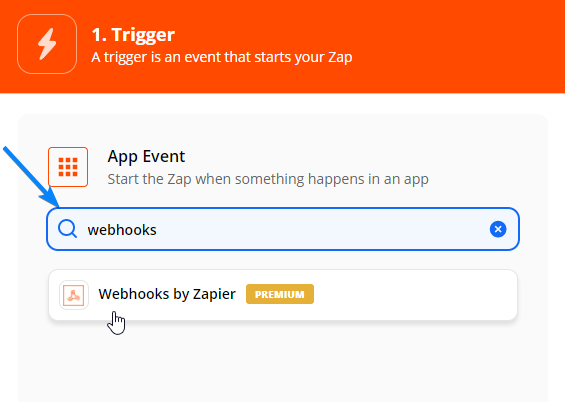
Next, search for Webhooks.
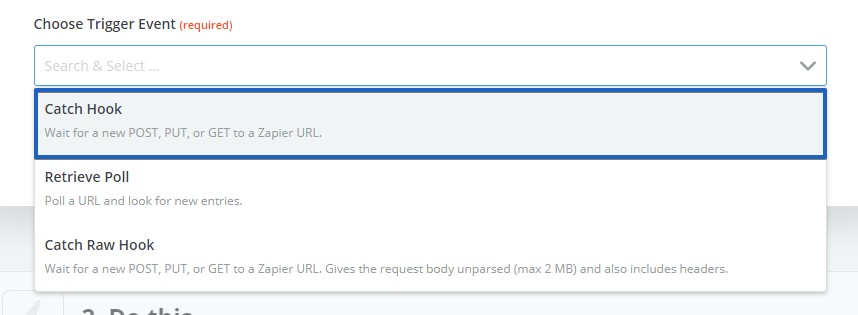
At Choose Trigger Event select Catch a Hook. Click Continue.
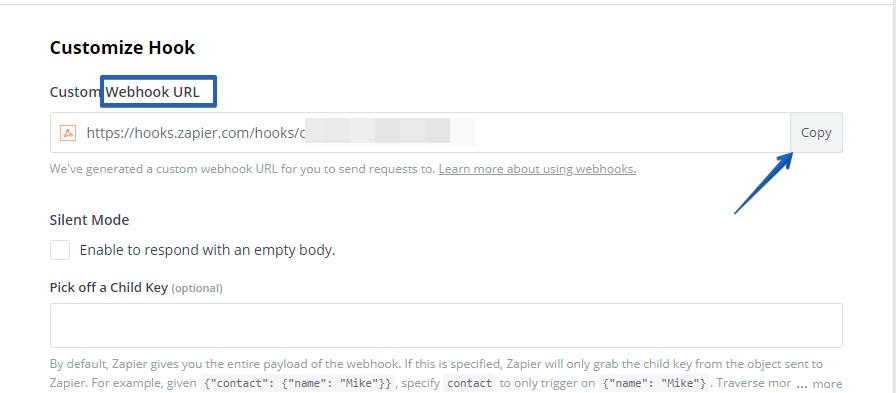
Copy the Custom Webhook URL.
Go to your form’s Integrations section. Search for Webhooks integration and paste the Webhooks link copied earlier.
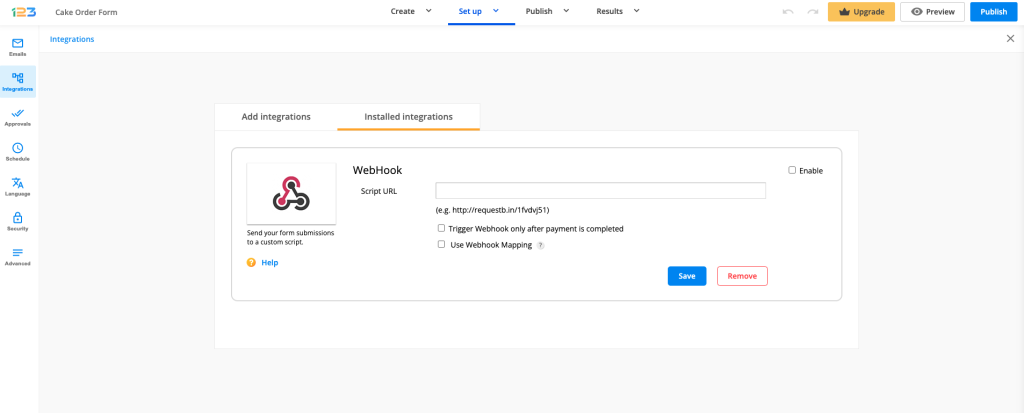
Now, form submissions are the trigger. You could add Google Sheets as well.
Make a test submission on your form to help Zapier find the data. Complete the form with relevant data, you need to identify it later in this guide.
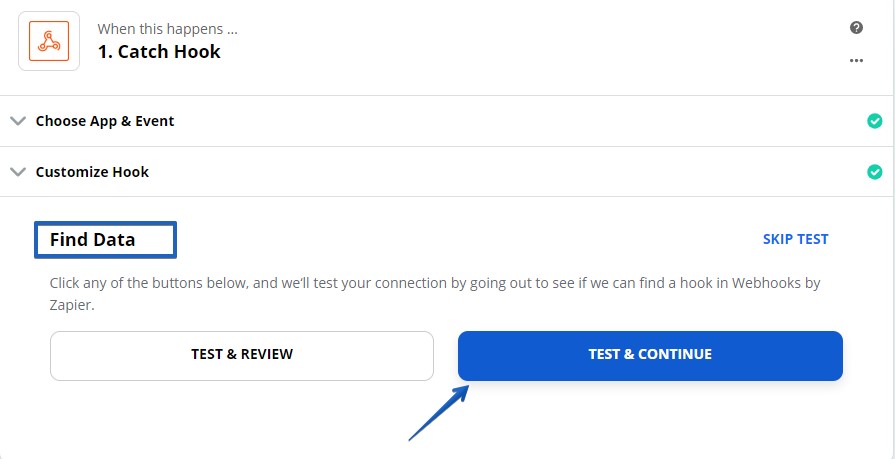
Go back to your zap settings. Below Find Data click on Test & Continue.
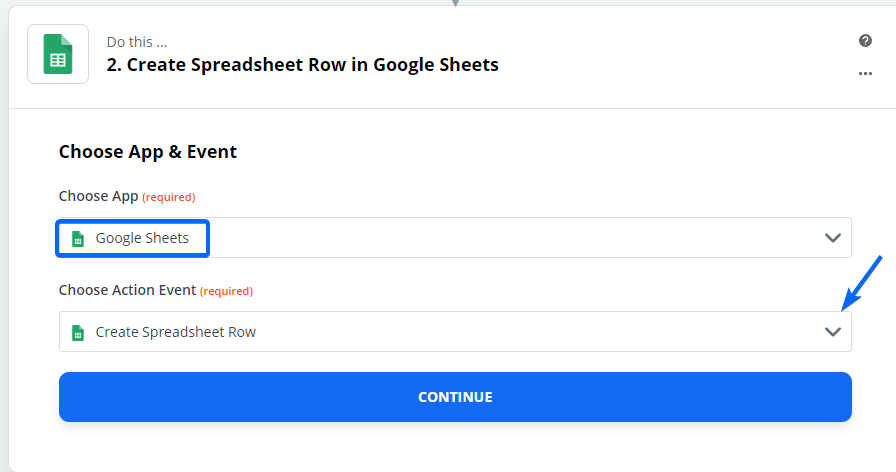
In the second part of the zap, search and add Google Sheets.
At Choose Action Event select Create Spreadsheet row.
Next, connect your Google Sheets account and select the form’s spreadsheet.

Open up the Google spreadsheet created by your form. Insert a new blank sheet (a new tab) into the existing Google Spreadsheet. Type the title for each column into the blank cells at the top of the table.
The column name doesn’t need to be exactly as your field label.
In your zap’s settings at Worksheet click on the new sheet created.
The columns from the new sheet are listed below. Click the Insert a field icon and associate it with the corresponding form field.
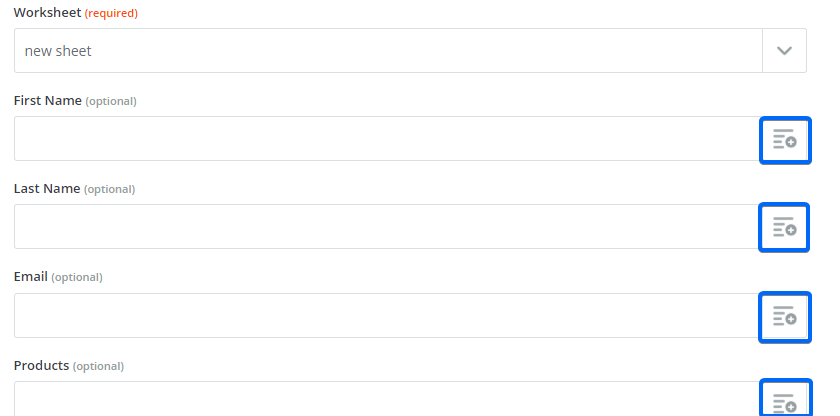
In the dropdown are first displayed the labels (control name) and not the field’s input value. Continue to scroll down until you see the data entered in your test submission (control value IDs). Map each field with its proper value.
Click Continue and Test & Continue. Toggle On the zap in the top-right corner and you’re done setting up the zap.
Make another test submission and check your new sheet. Only the selected columns will be populated.
Every time you receive an entry both sheets will be populated. The original one can not be deleted.
Additional Note! If you have an order form with payments enabled you can send the data in the last sheet only when the payment is completed.
To do so, go to Integrations, and at Webhook enable the option called Trigger Webhooks only after payment is completed.

Similar Articles
Frequently Asked Questions
Here is a list of the most frequently asked questions. For more FAQs, please browse through the FAQs page.